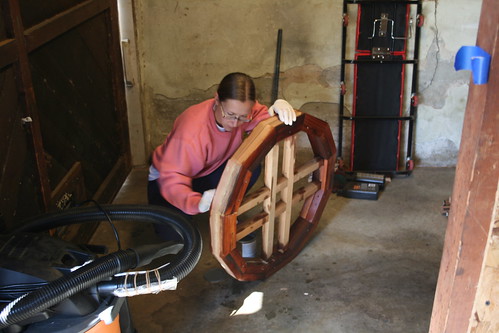
I am sealing the crown after I sanded and puttied it.
Since last time, I decided to paint the crown in a traditional Mongolian design, bright red, orange, blues, pinks, and yellows. That is why I am sealing it instead of varnishing it, because I will paint right over it in the next few weeks. Come to think of it, I may hold off on painting it until I finish the frame of the yurt and put it up once as a test.
After the wood sealer was dry on the crown, I drilled holes into it for the 36 roof poles to slide into. The roof angle is 30 degrees, so all of the holes had to be drilled at an angle, and made for quite a hard time fighting with the drill press. One hand was turning the wheel to bring the drill down, the other hand was holding the angle finder to make sure I was drilling at the correct angle, and both my legs were bent, supporting the wheel securely. Too bad Romy wasn't there to take a picture. I must of looked funny!
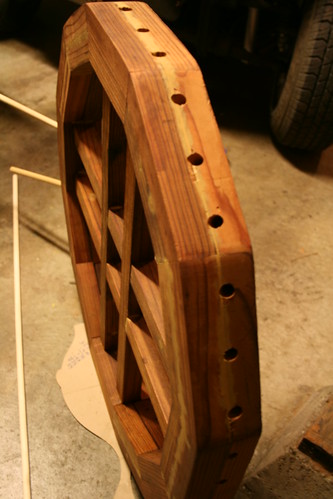
The yurt crown with 36 holes drilled into it.
The crown now is basically finished, except for some decorative touches (like the painting and some bowed sticks I will add later to support the rain dome). So next I moved on to finish the roof poles. Since they were still rough (all I did last time was round them out), I had to cut each of them to 6 ft. This wasn't too hard, but it was time consuming. Some ends were split, so those were the ends I cut off. Other ends had knots in them, so I also chose to cut those off too.

All 36 roof poles are now 6 ft long.
To attach the roof poles to the crown, I decided to go with a 3 inch long dowel pin that is 1/2 inch thick. I cut those to size from a long dowel rod I bought at OSH (a hardware store). That was much cheaper than ordering real fluted dowel pins from a supplier. I only needed about 40 dowel pins, but usually large dowel pins like that are sold in bags of 100! Anyways, 2 inches of the dowel pin goes inside the end of the poles, and 1 inch will stick into the crown. The dowel pins are now part of the roof poles. But to make drilling easier for myself, I first drilled a 2.5 inch deep hole into one end of each pole (1/2 inch thick) and then cut the same end off each pole at an angle, to accommodate the slope of the roof. In the process, about 1/2 and inch was sheared off, which is why I had to drill the hole 2.5 inches deep at first instead of 2 inches. It is much easier to drill into a perpendicular surface than into one that is angled at 30 degrees!
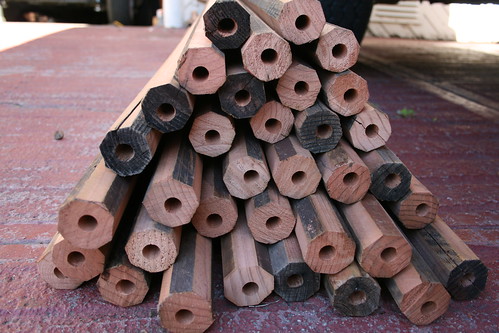
The holes for the dowel pins are drilled into each end of the yurt roof poles.
As an added complication, since the yurt crown is a polygon instead of a true circle, some of the poles come at an angle to the crown (I'm not talking about the angle of the roof slope). There is only one roof pole per polygon side that comes in straight on, and that's the one right in the middle of each polygon section. The other two come in at opposing 10 degree angles. So I had to cut each pole either straight on with a 30 degree slant, or +10 degrees with a 30 degree slope, or -10 degrees with a 30 degree slope. Consequently, I labeled the end of each pole so that it will be easier to build it.
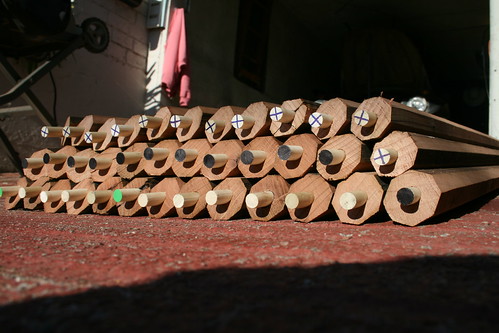
Each roof pole is labeled and cut with its corresponding angle.
I also cut a notch into the other end of the poles for the wall attachment, but I will save explaining that for another post.

1 comments:
Hi there to everybody, it’s my first go to see of this web site; this weblog consists of awesome and in fact good stuff for visitors. Hurrah, that’s what I was exploring for, what stuff! Existing here at this blog, thanks admin of this web site. You can also visit inconel 600 bolts for more Jignesh Steel related information and knowledge.
Post a Comment