Sunday, September 27, 2009

VW Bus Campout at Finnon Lake

Around the time that apples begin to ripen and are ready for pickin in the fall, there is a (now) traditional Finnon Lake VW Bus campout near Placerville, CA almost on the border of the Eldorado National Forest. There is a small campground next to Finnon Lake, which once was a small reservoir in the foothills of the Sierra Nevada mountains. Many bay-area and Sacramento area bus people come to camp together in one place. I didn't get a chance to take too many pictures, but here are a few:

Finnon Lake Camp-out
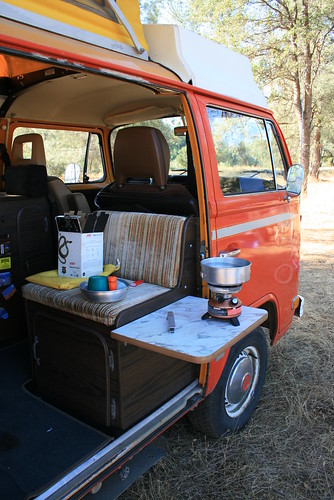
Heating water for morning coffee on the little side table.

Finnon Lake Camp-out
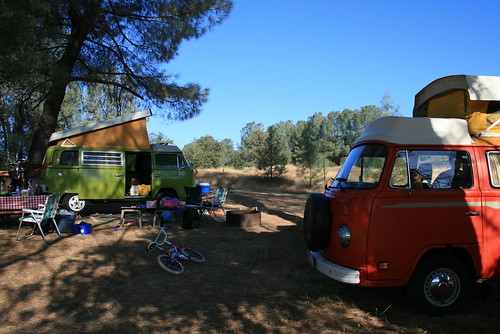
The green camper is our friend Regis's '78 bus.

Finnon Lake Camp-out
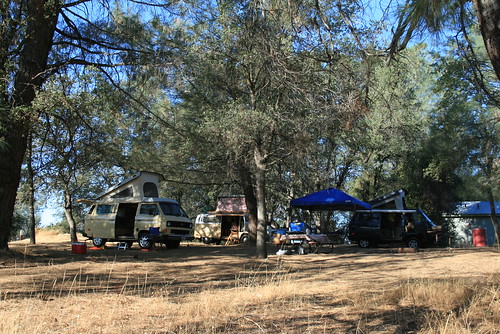
Camper busses in their native habitat - camping

Finnon Lake Camp-out
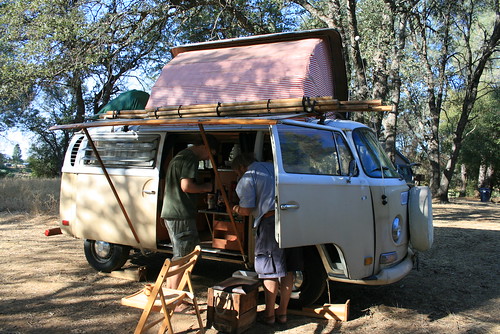
Romy is looking for a nut to fix our sliding door, and he found one at the door of a neighboring bus at the camp-out. The owner of this bus makes really cool custom made tents and shelters.

Finnon Lake Camp-out
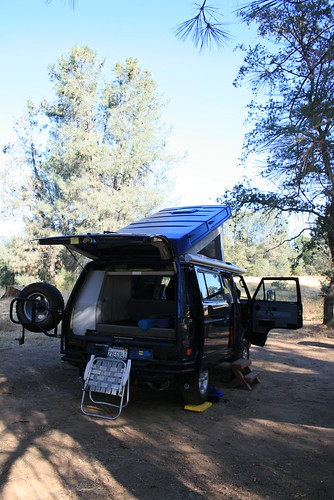
This is a vanagon syncro camper. It has 4 wheel drive and can go off roading!

Sunday, September 20, 2009

The Bus is Back in Action!


The last camping trip with the bus in September 2008.


Its been just about one year exactly since the bus moved out of the driveway in front of our garage. The last trip we took with it was to Humbolt Redwoods State Park in northern California last labor day weekend when my mom visited (in 2008). After that trip, the Illinois registration was expiring, so we decided to move ahead with our plan of getting it registered in California, so we can continue driving it, legally. After much researching about what exactly was required to get it to pass smog, we realized it would be a HUGE P.I.T.A. Since the bus is a '77, we are required to pass smog every two years or so, plus it had to have all the original engine components current with at least 1977. That sucks! We bought the bus in Montana, and it was originally sold in Washington, so it was never a California bus, meaning that to bring it into Cali, we'd have to do some serious work getting it to pass the standards for smog. When we bought it, the engine was carbureted, but it originally had fuel injection. So before we could do anything, we had to install fuel injection back on. The hunt began for a FI system, which lasted many many months, searching on craigslist, etc for components. Buying the parts brand new would have been extremely expensive, so we found a few components here and there until we finally got two systems together. Romy installed them, but since the FI systems were from old busses which may or may not have been running (who knows) we weren't sure if it would work right away. And of course, it didn't! Then came many more months of careful troubleshooting, and we even tossing in an engine swap! Finally in September of 2009, one year later (almost to the day - isn't that freaky?) the engine finally runs!!!

Sadly, this isn't the end of the story. We've been driving it without a catalytic converter, but of course, to pass smog, we need one. The only exhaust system that we have which has a cat on it we pulled off of a bus that was in an accident, and we suspect that oil must have gotten into the exhaust because it smokes like crazy when that exhaust is on. Other than getting another exhaust, I guess we will just have to let the oil inside 'burn off,' which is kinda gross, but oh well.

On a lighter note, we still have the rest of this month to drive it around as much as possible to break in the new engine before the Illinois registration expires and we have to go smog it. Our first trip with the bus was to Sequoia and Kings Canyon National Parks, in the Sierra Nevada mountains, near Fresno. I am posting some pictures that we took during the trip:


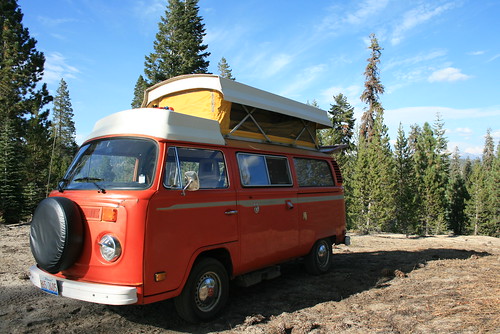
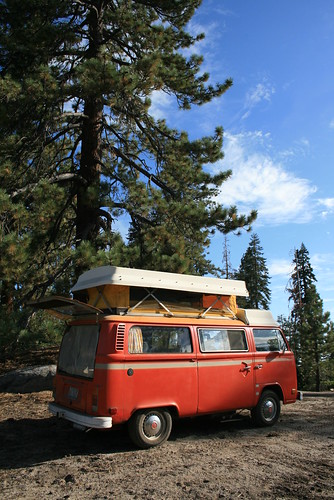
Bus Campsite
Camping with the top up in Sequoia National Forest near Kings Canyon National Park.

Bus Campsite

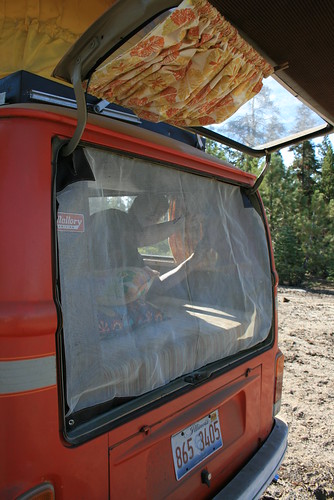
Screen Door
We bought this screen door snap-on thing at a VW parts swap meet for $15. Its great because you can sleep with the back hatch open, but keep the bugs out!

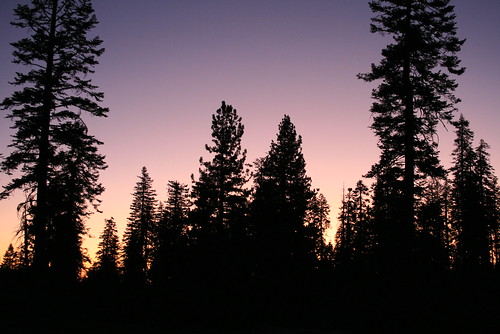
Sunset Camping
Sunset at our campsite in Sequoia National Forest.


Tuesday, August 25, 2009

Daewoo the Lizard

Its really a mystery how Daewoo the Lizard got into the trunk of the Daewoo one day. I went to Target to buy school supplies and left the bags full of paper and binders in the trunk for about one month. When it was finally time to start school again, I took out all of the bags from the trunk and brought them inside. As I was pulling out a pack of paper, all of a sudden out popped Daewoo the Lizard! He jumped onto the carpet in the living room, and we trapped it in a cup, so that it wouldn't hide somewhere.


The lizard was kinda slow, so I'm really not sure how long it was in the trunk and even why it was in the trunk. Maybe it got in there one day when we were taking a hike in the forest, but I'm not sure. I know I didn't get the lizard at Target! After we took the picture, we put him outside in the backyard. When I went to go see if it was still there a while later, he was gone!

Saturday, August 22, 2009

Re-reupholstering the Front Bucket Seats in the Bus

After two years, the corduroy on the front bucket seats in the VW bus were starting to wear down. When I first did the reupholstery, I guess I chose a bad fabric for it. Not only that, but I didn't have the correct pattern for the seats, and our old seat frames were deteriorating, with broken springs and hooks. So now that the prelim exams at Berkeley are over, I had time to re-reupholster the front bucket seats!

Bus Reupholstery
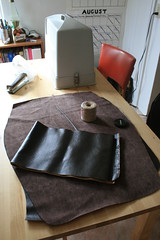
My sewing station.


I started by making a pattern out of two original seat covers from John's bus in Colorado. He sent them to us after we went and visited the family and Romy helped them out on their project restoring their bus (see the Rocky Mountain National Park post in July). When the seats arrived, I took the covers off carefully, and split them at the seams. Then I traced the outline onto some cardboard and cut out the cardboard pattern. The original seats were half vinyl and half cloth, and I thought it would be best to try to stick to the original design (since my previous corduroy idea wasn't so hot), so at the fabric store I bought velvet brown cloth and dark brown vinyl.

At the fabric store, there were so many options to choose from for the vinyl. But after looking at most of them, I noticed that there were only two price ranges: really expensive and cheap. I was immediately temped to go the cheap route, until I did the "stretch test." Since I knew that the seats will be stretched a lot, the material I chose had to be strong. When I stretched the cheap vinyl (it looked like an outdoor table cloth) the material permanently stretched out and the plasticy part looked all grainy and almost ripped. Not good! When I did the same test to the expensive vinyl, it rebounded back to its original shape, and the backing was super strong, like leather. I decided to buy the later, having no other choice. I was later very glad that I bought it, although it cost $30/yd!

Bus Reupholstery
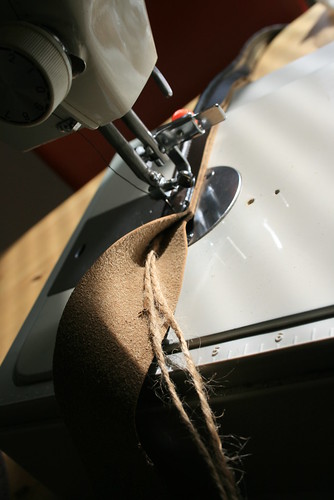
To make the piping, I sewed two strings of twine into long strips of vinyl. To make thicker piping, just add more twine.


The original seats covers also had piping along the seams, and I had been meaning to try making something with piping, but I wasn't exactly sure how. So then I went to the book section of the fabric store and read some of the upholstery books (how convenient!) to see if they had any instruction on how to do piping. I found one book that did, and all it is is a few strings of twine sewn into a long strip of cloth. It looked super easy, so I bought a little extra vinyl to do the piping as well.

Bus Reupholstery
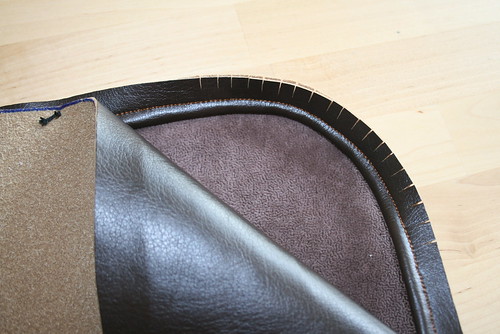
Sewing together the velvet, piping, and vinyl.


The next thing was to start sewing. After fighting with my old sewing machine (taking apart the bobbin assembly, putting in the needle backwards, etc. . .) I finally got it going. I was horribly scared that I would screw up and end up wasting all of the money I spent on materials (although I spent only half the amount I would've if I bought custom made seat covers from VW specialty shops, like sewfine). But it wasn't that bad, and once the machine was going, it was pretty quick to make all four sections of the seats.

Bus Reupholstery
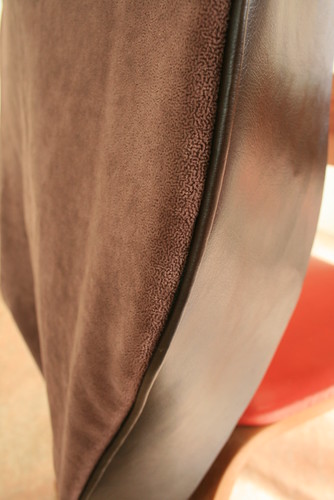
One of the finished seat backs. The piping makes the seams look better and also adds strength to the seams.


We bought pre-shaped foam and felt cloth from the busdepot (who actually get it from TMI) about a week beforehand and when it arrived, we were ready to put the seat covers on the frame. After many trials and errors, Romy and I figured out that it was best to secure the felt around the seat frame with string, then stuff the seat cover with the foam, before slipping the seat cover over the frame. The aftermarket foam made it a little over-stuffed, so the seat covers were hard to pull on and secure with the original metal hanger bar-and-hooks system. But after a lot of sweat (seriously it was really hard to pull) we finally got the seat covers on and they really look great!

Bus Reupholstery
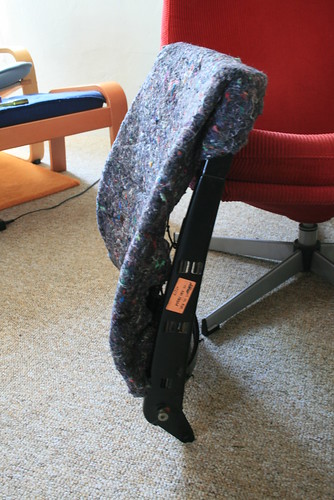
We first covered the seat frames with felt so that the metal springs wouldn't tear into the foam or the seat cover fabric.

Bus Reupholstery
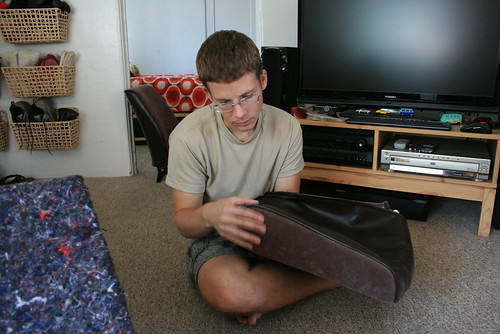
Romy is stuffing the seat-back cover with the foam before slipping it onto the felt-covered frame.

Bus Reupholstery
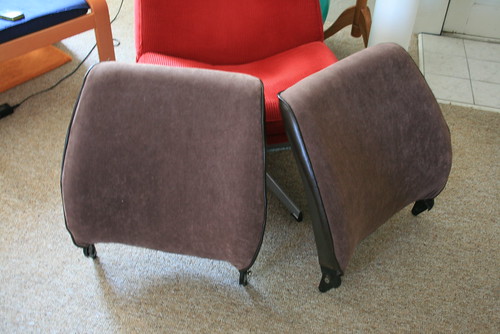
The two seat-backs are all finished! The front and. . .

Bus Reupholstery
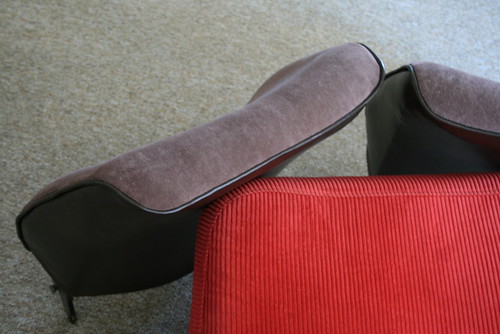
The backs and top.


I am still working on the seat bottoms. . . to be continued.

Wednesday, August 12, 2009

Soda Siphon Fail!

The story goes far back in time to when Nicole used to live in Daytona Beach, Florida. I visited her one time with my dad, and she took me to an antique shop near the beach. It had a lot of junk in it, but I found something really cool - a 1920s art deco style soda siphon! It was around $10, so I thought, what the heck, I'll buy it and see if it works. When I got home, the soda siphon confused me, because I knew you had to buy CO2 bombs for it, but none of the ones the stores and restaurant supply shops sold were threaded, and there was thread on the section where the CO2 was supposed to attach. That actually stumped me for a while, so I put the thing in a cabinet in the kitchen and forgot about it until now.
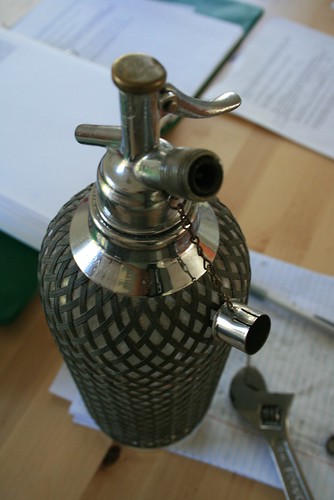

Antique Sparklet Soda Siphon
My 1920s soda siphon.


A few weeks ago, I took a fresh look at the soda siphon, and it all of a sudden dawned on me that the CO2 bomb doesn't have to be threaded, because there must be something else that holds it tight onto the bottle. Once I got that idea, a quick search on the internet solved the mystery. There really is something, called a charge holder, that cups the CO2 bomb and screws onto the soda siphon, forcing the bomb to be pierced open. The CO2 then rushes out of the bomb and pressurizes the water in the soda siphon bottle. Gas gets forced into the water and carbonates it, while also creating pressure so that the soda will stream out of the soda siphon when you open a valve.

The next problem was finding parts for my antique soda siphon. Many modern ones exist, but I guess there is a small cult which collects and uses antique soda siphons. What a relief it was when I found some parts on http://prairiemoon.biz, a beverage company. The siphon needed new rubber gaskets, a charge holder, CO2 bombs, and a special tool to unscrew the part where the CO2 bomb attaches.
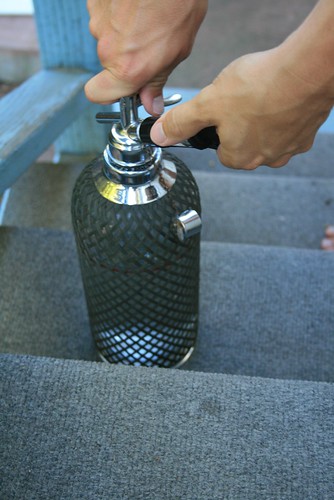

Antique Sparklet Soda Siphon
Romy screws in the CO2 bomb in the charger holder.


The UPS truck came today with all of the parts from Prairie Moon. Romy and I were so excited, we opened the package right away and started putting the new gaskets on the soda siphon and basically revamping it. When we did everything we could, we decided to go ahead and try making our first liter of bubbly water! Fearing that the thing might explode or something, we took it to the back porch steps outside and attached the CO2 bomb in the holder, screwed it in, and . . . .
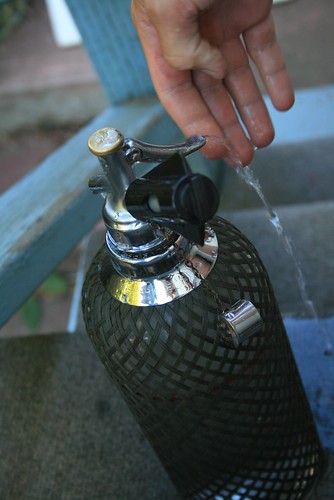

Antique Sparklet Soda Siphon FAIL!
No!!! A leak!


There was a small pop and then a rush of gas into the bottle. The water bubbled like crazy, and the air inside turned all cloudy with CO2. But then all of a sudden, a steady stream of water started leaking from the most unexpected place - the valve handle! We thought that we replaced all of the seals! And in fact, it didn't leak from anywhere but the valve handle, and we weren't even aware that there was a gasket there, but apparently there is and it went bad sometime in the past 80 years!

After all of the pressure escaped, we opened it up to try to find a way to access the gasket, but it appears that there is a permanent cap of soft metal covering the area, like a lid. The only way to get to the valve and gasket is to remove the metal cap, but we will have to destroy it to do so. I guess that is what we will have to do, and then we'll have to make a new lid when we're done.

I'm so happy that we at least got it going!
Sunday, August 02, 2009

California, The Golden State

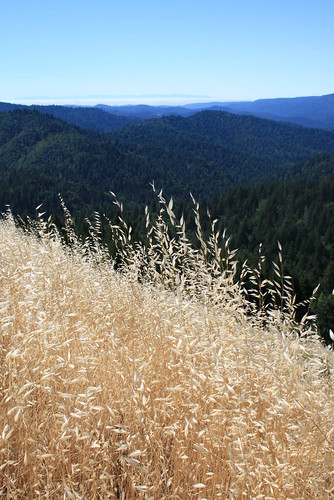
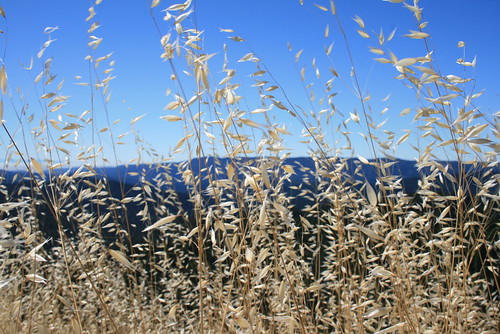
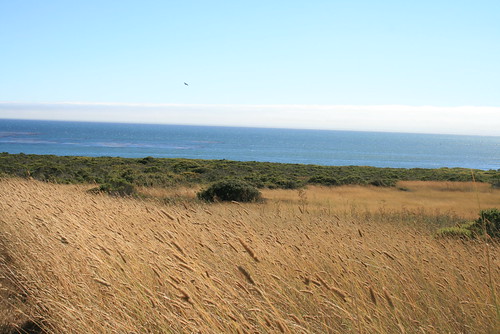
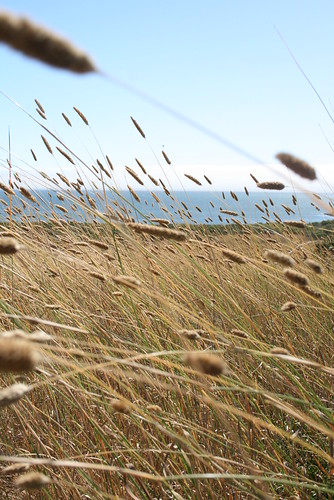
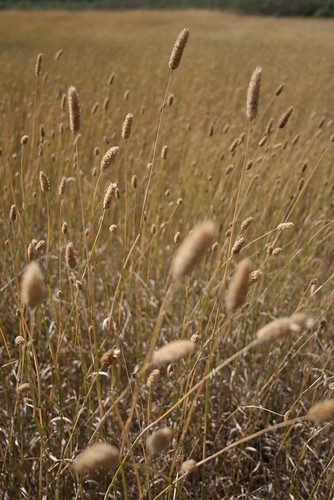
It is now the middle of the summer here in California, and the state has fully turned golden! When we first moved here last year in July, all the grass-covered hills were dry and golden, which seemed strange to me. As the time passed into the rainy winter, all of the hills sprang into life, as new tiny buds of grass transformed the hill sides into a bright fresh neon green. By January, California was the green state. Then, in April, the green started giving way to gold again, with the hill sides completely turning golden by July. Here are some pictures I took of the golden wild grasses this past weekend:


The Golden State
The redwoods in the mountains of Castle Rock State Park contrast with the golden hill sides of wild grasses.

Wild Grasses IV


Blue and Gold
The Pacific Ocean at Ano Nuevo State Reserve.

Wild Grasses III
Wild grasses blow in the ocean breeze at Ano Nuevo State Reserve.

Wild Grasses II