The long khana pieces go together criss crossed. I used 1x2 inch douglas fir for the khana pieces. They are joined with a nylon braided polyester cord 1/8" thick string. There are 8 full length pieces in each direction for each khana section, and for my yurt, I need to make three sections. In addition, there are also progressively shorter and shorter pieces that need to be included to make the ends square. The following pictures are a step-by-step guide to how to put a khana section together. As I mentioned in my previous posts, the holes where the string goes through to connect khana pieces together have already been drilled prior to today, and I also cut each piece to size, sanded them, and varnished them.
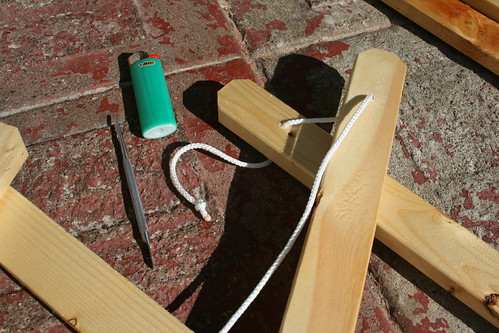
Step 1: Push the string from the top to the bottom and out. Sometimes it helps to fashion a 'needle' out of a stick or something similar. Knot the end and burn it with a lighter so that the end of the string doesn't unravel. I used synthetic string, but if you are using natural fiber, you shouldn't burn it.
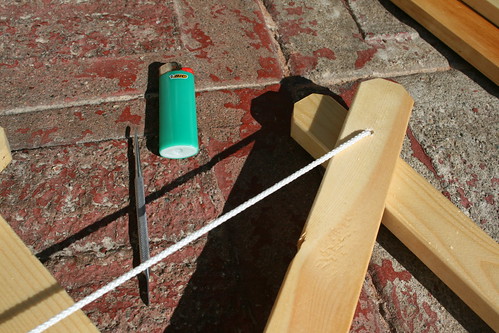
Step 2: Pull the string hard and tight so that the knot on the other end seats. Make sure the two khana pieces are aligned how you want them to be.
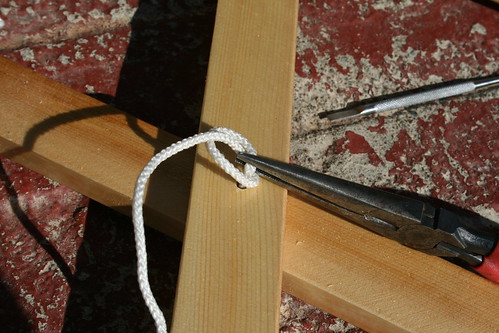
Step 3: Keeping the string tight, use pliers to help tie the knot at the top. Try to make the knot as close to the wood as possible.
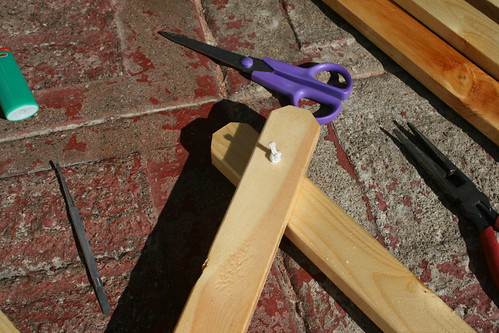
Step 4: After tying the knot, cut off the excess string. Finish it by burning the end so that the string doesn't unravel.
I had this vision this morning that I would finish all three khana sections today. In one khana section, there were a total of 76 'joints' and 152 knots to tie and burn! Needless to say, it took me all day to complete just one khana section, even when Romy helped me for an hour or so! That means I still have two more days to go making the sections, and one more day to make the door frame.
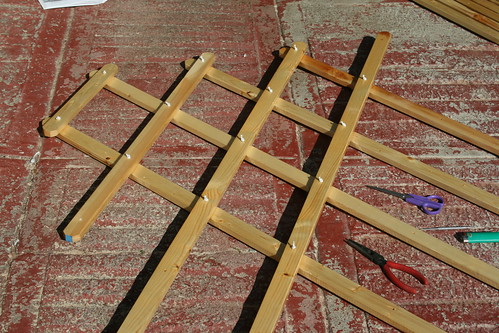
The start of putting a khana section together. This is a view of the corner.
My dad thought that the khana might not bend enough to create a circle without the pieces breaking, so I tested it out. It bends really well, and the actual pieces don't bend as much length-wise because they are at an angle. I was happy when I saw that! Anyways. . . here are some more pictures I took over the course of the day (and night).
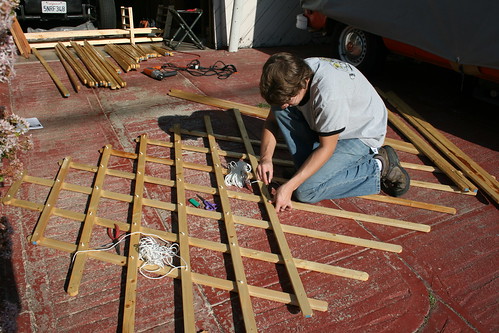
Romy helping to make the khana sections.
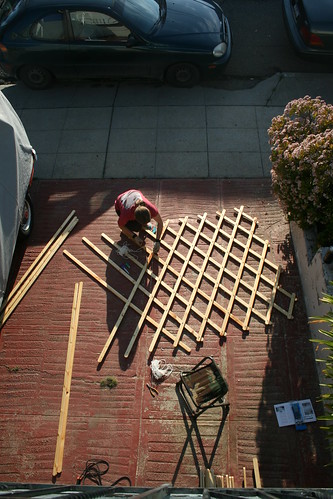
Me making the khana sections. It is getting towards evening. Romy took this picture from the balcony above the garages.
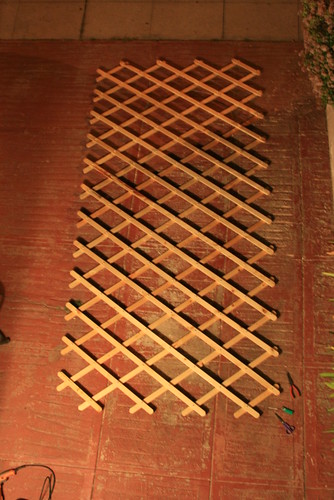
The completed khana section. Its dark outside so the picture blurred a little.

Me holding up the khana section when it is all folded up. Its not as big as I thought!
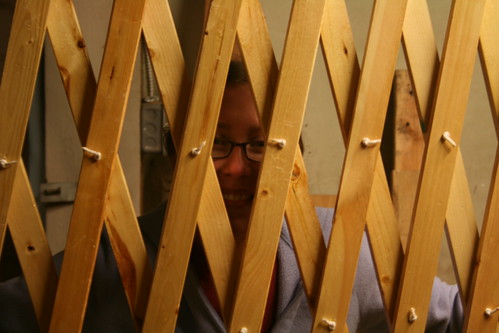
I look all tired! But the first section is all done. Yay!

0 comments:
Post a Comment